The Pool Bath Finish Package Cleared Inspection Before the Hardscape Crew Poured Coping
A reversed sequence costs real money. The hardscape crew pours the coping at a fixed elevation. The tile setter arrives later to set the shower pan. The finished floor lands half an inch too high. Water pools against the door jamb instead of draining toward the linear channel. Now you have a jackhammer problem. Removing the coping means regrading the deck edge. Regrading the deck means pulling pavers back three feet from the pool shell. Three feet of paver removal exposes the bond beam. Exposed bond beams invite cracks in the plaster finish. One missed inspection triggers four trades. None of them planned for this.
Key takeaways
- Verify and inspect the pool bath floor elevation and waterproofing membrane before exterior hardscape crews pour coping.
- The finished floor elevation of the pool bath dictates the exterior deck slope away from the structure.
The pool bath sits at the seam between conditioned interior space and exposed exterior hardscape. That seam does not forgive assumptions. Elevation control governs every material meeting at that line. Sightlines from the garden through the glass door into the vanity mirror depend on the floor plane sitting precisely where the architectural section shows it. Drop the slab two inches to chase a drain slope. The door threshold becomes a trip hazard. Raise the slab to match the coping. The shower curb disappears. Neither option survives a final walkthrough.
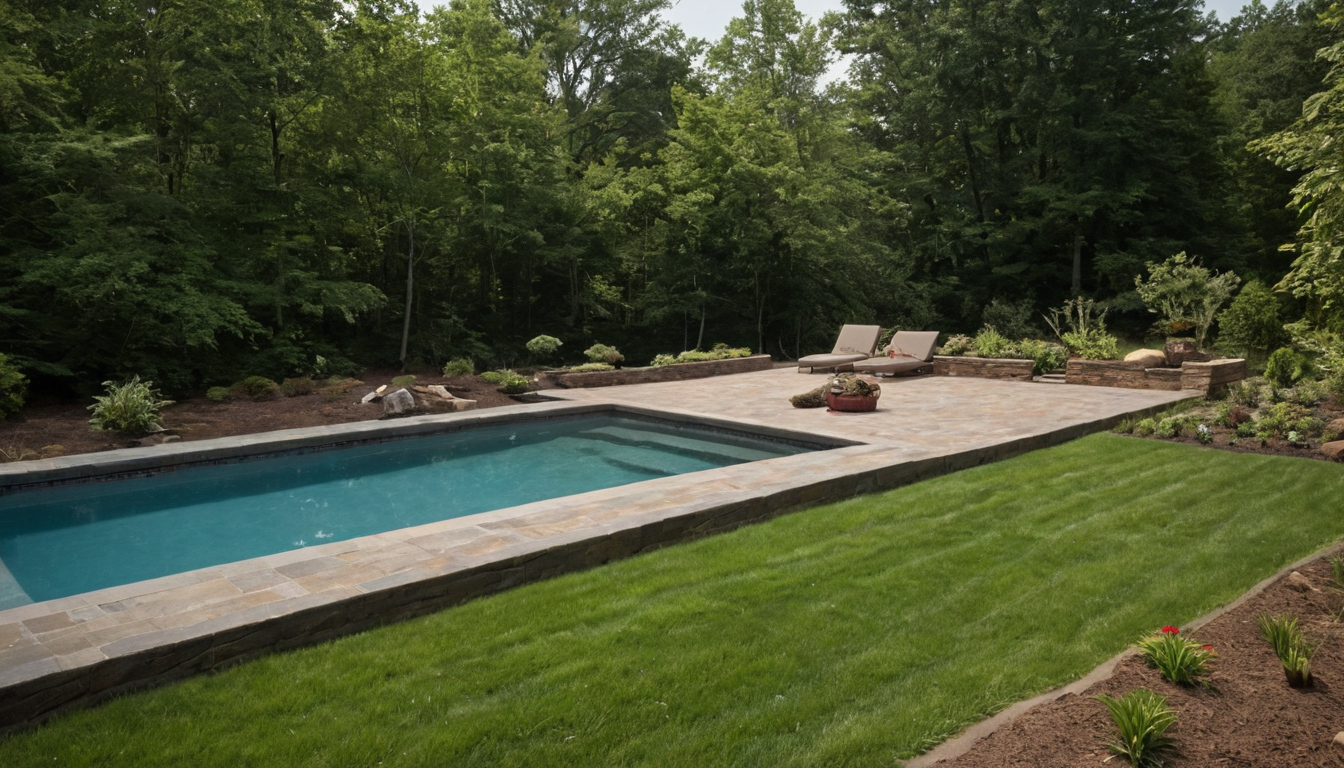
The Pool Bath Finish Package Cleared Inspection Before the Hardscape Crew Poured Coping.
Why must the pool bath finish package clear inspection before hardscape coping is poured?
Verify and inspect the pool bath floor elevation and waterproofing membrane before exterior hardscape crews pour coping. Once concrete sets the deck grade, correcting interior drain routing or threshold heights requires demolition. This sequence protects both bathroom remodel designs and structural drainage performance for US luxury villas.
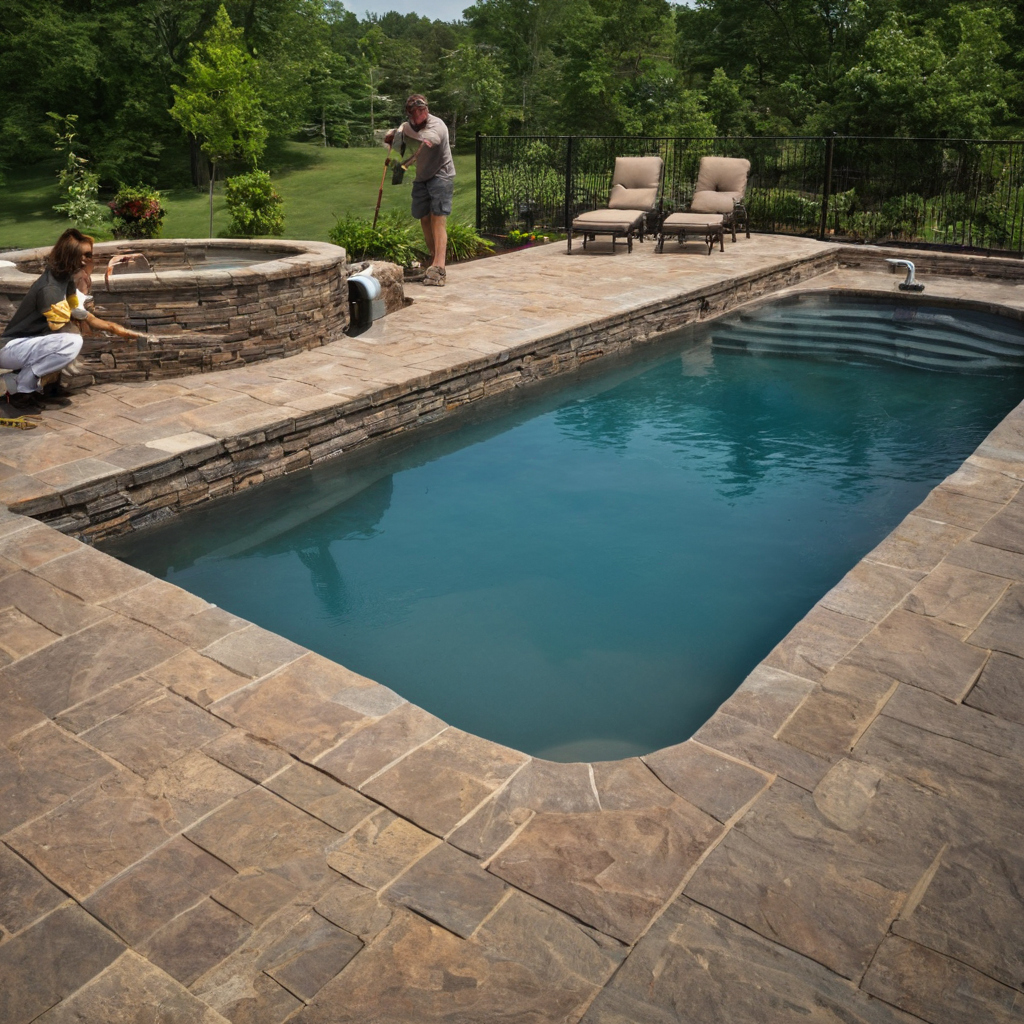
Why must the pool bath finish package clear inspection before hardscape coping is poured.
Treat the pool bath as a coordination gate. Interior finish trades close out their work first. Waterproofing gets tested. Flood tests hold water for twenty-four hours. Inspectors sign the card. Only then does the landscape contractor receive the green light to form and pour coping. This order keeps the elevation chain intact. The finished floor datum transfers outward. Coping follows the interior. The deck follows the coping. Drainage slopes follow the deck. Every trade works from a verified benchmark rather than a guess.
Project managers running hard jobs know the pressure to pour early. Concrete trucks wait. Weather windows shrink. Landscape superintendents push to lock the deck grade so they can move crews off site. The urge to let them pour is strong. Resist it. Pouring coping before the pool bath clears inspection leaves your schedule to chance. Chance does not read plumbing plans. Chance does not check membrane laps. Inspection sign-off is the non-negotiable gate. Do not skip it.
Use this checklist before authorizing the coping pour. Confirm each item with the responsible trade foreman. Document the answers on the daily log.
- Waterproofing membrane integrity: Verify the sheet or liquid membrane extends past the threshold and ties into the exterior flashing. Check lap seams at corners. Confirm the membrane manufacturer installation guide was followed for substrate prep and cure times.
- Flood test completion: Confirm the shower pan held water for the required duration without dropping. Record the start and end measurements. Photograph the plug and the water line.
- Drain routing verification: Trace the waste line from the floor drain to the main stack. Confirm the slope meets code. Ensure no indirect waste receptor near the pool shell lacks an air gap.
- Elevation benchmark transfer: Shoot the finished floor height with a laser level. Compare it to the proposed coping top. Confirm the transition allows for the required slope away from the building.
- Clear floor space compliance: Measure the unobstructed area around fixtures. The 2010 ADA Standards specify a 30 by 48 inch clear floor or ground space for wheelchair positioning in accessible design. Even in private residential villas where strict ADA enforcement varies, maintaining this footprint prevents cramped layouts that force awkward threshold transitions.
- Inspection card signature: Obtain the physical or digital sign-off from the local building inspector. Do not accept verbal approval from a subcontractor as a substitute.
- Soffit and ceiling alignment: Check the soffit lines above the pool bath door. Ensure the exterior canopy or pergola structure aligns with the interior ceiling plane so rainwater sheds away from the threshold.
- Threshold profile selection: Confirm the metal or stone transition piece matches the elevation difference between the tile and the exterior deck. Order the profile before the coping forms are built.
Each checked box protects a boundary. The membrane boundary stops moisture migration into the wall cavity. The flood test boundary proves the pan holds water under static load. The drain routing boundary ensures wastewater leaves the building envelope safely. The elevation boundary locks the geometry of the entire pool deck. Missing one boundary invites failure in the adjacent trade. Tile setters cannot fix bad framing. Framers cannot fix bad plumbing. Plumbers cannot fix poured concrete. Sequence the work so each trade hands off a verified condition to the next.
This checklist changes how you run the morning meeting. Stop asking if the tile is done. Ask if the elevation benchmark transferred cleanly to the exterior grade stakes. Ask if the inspector walked the wet areas. Ask if the coping forms match the signed floor plan. These questions shift the focus from fixture selection to structural sequencing. Bathroom remodel designs often prioritize finishes and hardware. On a pool deck, finishes mean nothing if the underlying geometry fails. A beautiful stone floor pitched toward the living room instead of the drain ruins the house. Precision beats aesthetics at the threshold.
The interior sequence is locked. The membrane holds. The inspector signed. The floor plane is verified. Now the hardscape crew needs exact numbers to build their forms. What elevation controls govern the threshold between the pool bath and the exterior deck?
What elevation controls govern the threshold between the pool bath and the exterior deck?
The finished floor elevation of the pool bath dictates the exterior deck slope away from the structure. The threshold must prevent water migration inward while aligning with accessible transitions where applicable. Interior design services coordinate this datum with the landscape architect before any concrete placement.
A pool bath sits at the seam where interior finish trades hand off to site hardscape crews. Get that seam wrong and water tracks under the door, saturates the subfloor, and ruins the tile bed you just inspected. The TCNA Handbook classifies wet area tile installations using Environmental Exposure Classifications, including Res3 (Residential Wet) for surfaces that are soaked, saturated, or regularly subjected to moisture, such as enclosed pool area walls (Ceramic Tile Foundation). That classification drives every material choice below the tile surface. When a superintendent treats bathroom remodel designs as purely aesthetic exercises, the elevation chain breaks. The pool bath is not a styling opportunity. It is a coordination gate.
Plumbing code requires floors with drains, including exterior areas and stall showers, to be sloped a minimum of 1/4 inch per foot to a maximum of 1/2 inch per foot toward the drain (Ceramic Tile Foundation). The interior slope and the exterior slope must meet at the threshold without creating a dam or a valley. If the hardscape crew pours coping first, they lock in an exterior grade that might force your interior slope out of tolerance. You end up chipping fresh concrete to save a tile installation. That is why the comparison table below matters. It puts the same numbers in front of both trades before anyone mixes thinset or sets forms.
| Parameter | Interior Pool Bath | Exterior Hardscape Deck |
|---|---|---|
| Slope requirement | 1/4 to 1/2 inch per foot to drain | 1/4 inch per foot minimum away from structure |
| Membrane standard | B415 method; A118.10 waterproof or A108.M-2.8.1 vapor retarder | Site-applied waterproofing below pavers if over occupied space |
| Membrane dimensions | 39-3/8 to 72 inches wide; 4 to 40 mils thick (CPE, polyethylene, PVC) | Varies by system; typically fluid-applied or heavy sheet goods |
| Load testing | ASTM C627-18 Robinson-type floor tester for dynamic loads | Geotechnical bearing capacity verification |
| Cleaning protocol | Neutral cleaners, stone soap, mild liquid dishwashing detergent and warm water | Pressure washing; avoid scouring powders or abrasive creams on adjacent stone |
| VOC management | Paints, varnishes, waxes, cleaning products, building materials, and furnishings emit VOCs; increase ventilation during use | Open-air dissipation |
| Moisture response | Fix wet or damp spots promptly to prevent mold growth | Surface drainage routing |
| Lighting specification | Qualified LED lighting uses 75 percent less energy and lasts up to 25 times longer than incandescent | Low-voltage landscape fixtures |
| Accessible vanity height | 28 to 34 inches above finish floor for compliant surfaces | Not applicable |
The table exposes conflicts before they cure into concrete. Interior membrane specifications demand precision. The 2024 TCNA Handbook provides membrane options for wet areas; for example, method B415 under Shower Receptors states that a waterproof membrane meeting A118.10 or a vapor retarder membrane meeting A108.M-2.8.1 must be specified for walls to prevent moisture intrusion (Ceramic Tile Foundation). Sheet waterproofing membranes range in width from 39-3/8 inches (1 M) up to 72 inches (1.83 M) and vary from four to forty mils in thickness, composed of materials such as chlorinated polyethylene (CPE), polyethylene, or polyvinyl chloride (PVC) (Ceramic Tile Foundation). Those widths dictate how many seams the tile setter must weld or lap. Every seam near the threshold is a potential failure point if the exterior deck slopes back toward the door.
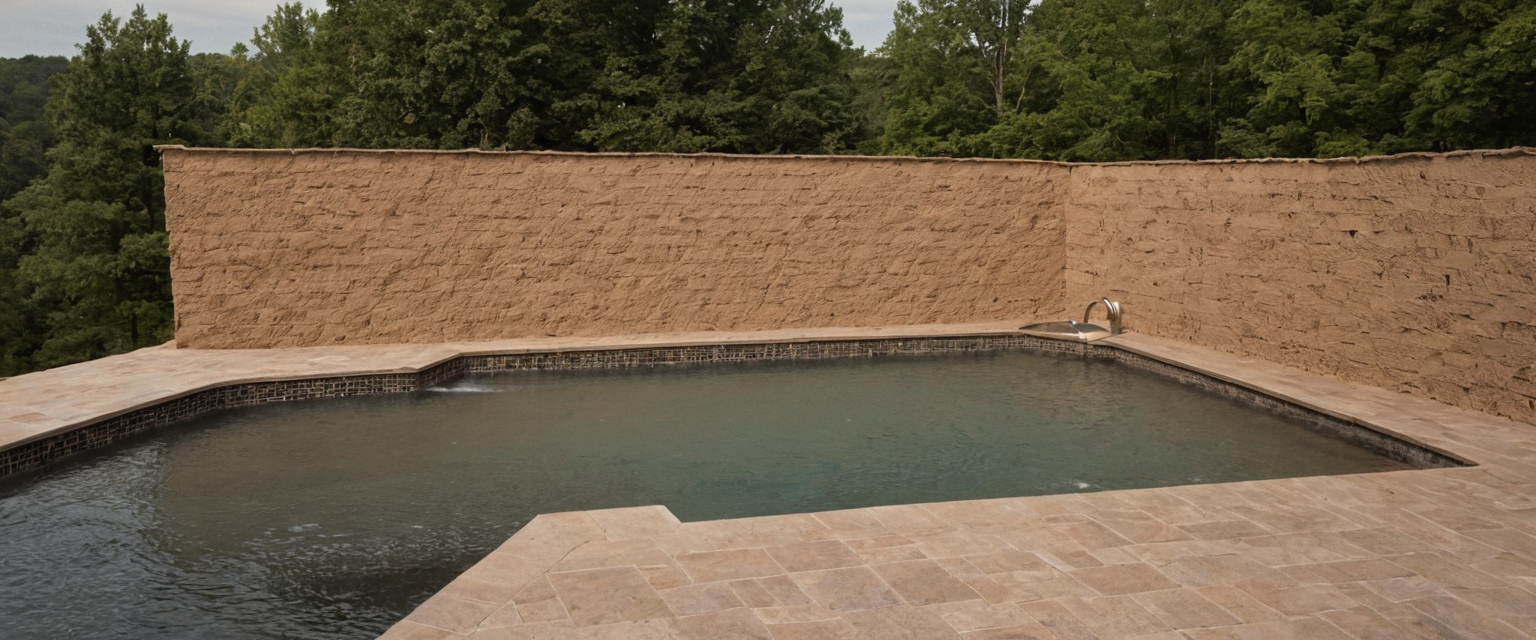
What elevation controls govern the threshold between the pool bath and the exterior deck.
Floor assemblies take abuse from wet feet, dropped tools, and dragged lounge chairs. ASTM C627-18 is the standard test method for evaluating complete ceramic floor tile installation systems for failure under dynamic loads using the Robinson-type floor tester, rather than evaluating particular characteristics of ceramic tile like abrasion resistance (ASTM). A system that passes the Robinson test survives the foot traffic moving between the pool deck and the shower. Specifying tile based solely on color ignores this structural reality.
Plan for maintenance during design. The Natural Stone Institute recommends cleaning natural stone surfaces with neutral cleaners, stone soap, or mild liquid dishwashing detergent and warm water (Natural Stone Institute). The Natural Stone Institute also warns that scouring powders or creams can scratch natural stone surfaces because those products contain abrasives (Natural Stone Institute). If the homeowner uses the same abrasive cleaner on the pool coping and the interior threshold, the stone dulls fast. Bedroom decor and living room finishes rarely face this chemical cross-contamination, but the pool bath lives in the splash zone.
Air quality inside a sealed pool bath degrades quickly when wet materials off-gas. The U.S. Environmental Protection Agency identifies paints, varnishes, waxes, cleaning products, building materials, and furnishings as common indoor sources of volatile organic compounds (EPA). The U.S. Environmental Protection Agency recommends increasing ventilation when using products that emit volatile organic compounds indoors (EPA). Exhaust fans must run during grout sealing and membrane curing, not just after someone takes a shower. Trapped moisture compounds the problem. The U.S. Environmental Protection Agency guide to mold and moisture states that condensation and wet or damp spots should be fixed promptly to prevent mold growth (EPA). A threshold that traps water against the door jamb guarantees a callback.
Fixture heights tie directly into the floor datum. If the finished floor shifts by half an inch to accommodate exterior grading, the vanity clearance changes. The 2010 ADA Standards set accessible dining and work surfaces at 28 to 34 inches above the finish floor or ground (U.S. Department of Justice). Losing half an inch at the floor might push a custom vanity out of compliance. Lighting choices compound the thermal load in a small, humid room. ENERGY STAR states that qualified LED lighting uses at least 75 percent less energy and lasts up to 25 times longer than incandescent lighting (ENERGY STAR). Less heat from fixtures means less strain on the exhaust fan trying to pull humidity out through the soffit line.
- Locate the primary site benchmark established by the civil engineer. Verify its elevation against the approved grading plan before pulling any string lines.
- Transfer the benchmark elevation to the pool coping formwork using a laser level or optical transit. Mark the top of coping at multiple points around the perimeter to confirm the plane is flat.
- Determine the required drop from the top of coping to the exterior deck surface. This drop accommodates the 1/4 inch per foot slope away from the structure and the thickness of the paver setting bed.
This sequence keeps the interior floor tied to the exterior deck. When owners searching for interior designers near me ask how to protect their material selections, the answer is always the same: control the datum first. A beautiful tile installation sitting two inches below the exterior grade will flood during the first heavy rain. The sightline from the garden to the living room means nothing if water pools at the threshold.
This sequence keeps the interior floor tied to the exterior deck.
Exterior-rated transition profiles for wet areas require a sloped top surface that pitches away from the interior. The profile material must resist pool chemicals, UV exposure, and constant moisture. Anodized aluminum or solid brass tracks handle this environment better than standard steel. The profile anchors into the substrate beneath the tile, not just into the thinset. Fasteners must penetrate the structural slab to prevent the track from lifting when the door sweeps across it.
Waterproofing continuity requires the interior sheet membrane to tie directly into the transition profile. The membrane should lap up the vertical leg of the profile and seal against it using manufacturer-approved sealant. On the exterior side, the flashing must integrate with the deck waterproofing or slope away cleanly under the pavers. Any gap between the membrane termination and the metal track becomes a path for water to reach the wood framing or concrete substrate.
Zero-threshold entries near pools require careful detailing. Building codes generally restrict flush thresholds in wet-to-dry transitions unless specific drainage channels capture the water immediately outside the door. A linear drain set parallel to the exterior side of the threshold intercepts runoff before it crosses the seal. The drain grate must sit flush with the exterior pavers and the interior tile to maintain a continuous walking surface. Even with a linear drain, the interior floor should hold a slight positive elevation relative to the exterior deck to encourage gravity flow outward.
Door sweeps and weatherstripping provide the secondary defense. The sweep must contact the transition profile evenly across the entire width of the opening. Uneven contact leaves gaps where wind-driven rain enters. Specify sweeps rated for exterior wet locations, as standard interior brushes degrade rapidly when exposed to chlorine and sunlight.
Do not schedule the hardscape pour until the pool bath floor elevation is locked, the membrane is tested, and the inspector signs the card. Treat the pool bath inspection as the mandatory gate for exterior concrete work in sequencing meetings. When the tile setter and the landscape foreman read from the same datum line, the threshold holds, the coping aligns, and the finish package survives the season.
For more on this topic, see other guides on this site.